
Prelude
tl;dr? Skip to “Two operating systems on BTRFS”.
Having not been home for over eight months, my hatred towards laptops has subsided somewhat and I decided to buy one. It came with Windows 7 Pro pre-installed, and I decided to give it a chance. Two days later, I had to wait over two hours for the system to boot due to this monstrosity:
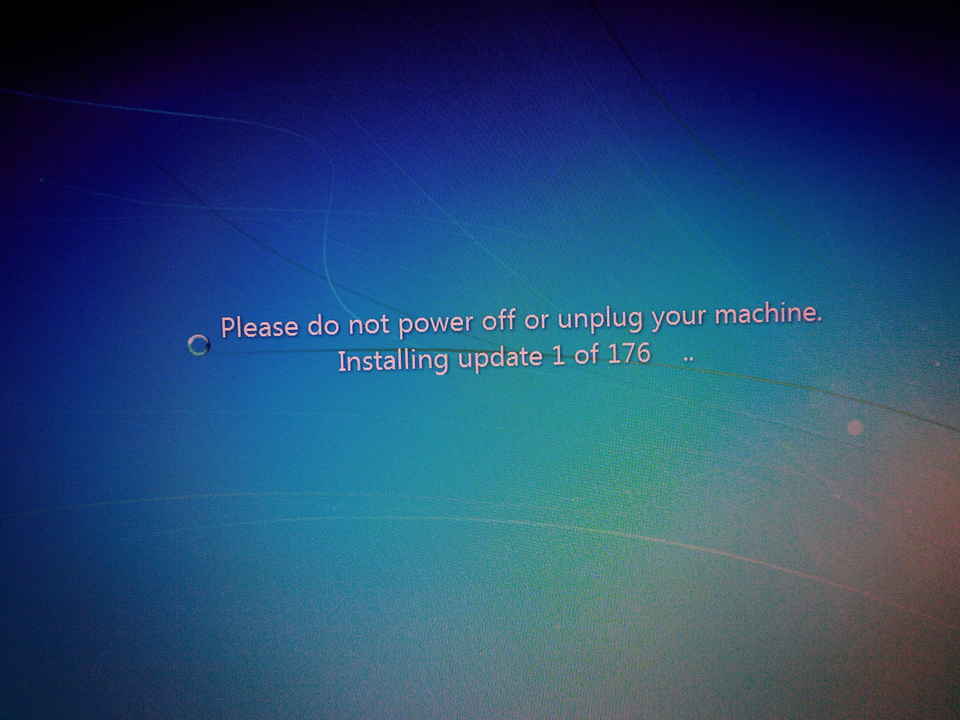
I can’t seriously depend on an operating system that incorporates a denial-of-service attack as part of its core design. Additionally, it had managed to mass over 8GB of “queued error reports” over the two day period, so I decided to squash the Windows partition to the end of the disk and put a proper operating system on.
Axiom of choice
I intended to install one Linux distribution on the computer, but found that there were already three partitions on the (MBR-tabled) disk. I googled to see if GRUB can be safely installed to the same partition as the OS since adding two partitions would require an extended partition – which can screw up booting in some circumstances. Through this searching, I got into dirty details of Linux booting and filesystems.
The title of this section is a reference to the Banach-Tarski paradox, as I started with one Linux, dismantled it, and ended up with two Linuxes. I couldn’t decide between Arch Linux or Ubuntu, and I figured that if I could sort out the partition-count problem then I could install both distributions. Solving the partition-count problem is what motivated me to finally try BTRFS.
BTRFS
While Windows and NTFS have slowly been crawling along with half-baked technological advances a decade after everyone else, the rest of the filesystem world has been having a party – IBM’s JFS, Sun’s ZFS, SGI’s XFS, and Linux’s ExtN have been interbreeding and following academic research to produce some powerful features.
BTRFS (backed by Oracle) has one particularly interesting feature, subvolumes. In very simple (and inaccurate) terms, a subvolume is like a filesystem within a filesystem – the BTRFS filesystem can contain multiple subvolumes, and they can also contain subvolumes. Each subvolume can be snapshotted independently of others, can have a different RAID configuration, and can have different (transparent) compression.
The snapshots are copy-on-write, so they occupy (almost) no extra space until a file is modified. This allows regular snapshots to be taken without a linear increase in disk-usage, at the expense of write-times when a snapshotted file is later modified.
Typical home-PC usage of BTRFS
The average home-user experimenting with BTRFS will have an ext2 /boot partition, and a BTRFS structure like one of the following:
[code]
subvolume path => mount point
@ => / (high/slow compression)
@home => /home (low/fast compression)
[/code]
Two operating systems on BTRFS
In order to share user folders between two Linux installations, I opted for this subvolume configuration:
[code]
@ (root subvolume, not mounted)
@/snapshots (snapshots folder, not a subvolume)
@/arch => / (Root filesystem for Arch Linux)
@/ubuntu => / (Root filesystem for Ubuntu Linux)
@/home => /home (Users’ data)
@/root => /root (Root’s data)
@/boot => /boot (GRUB + useful ISOs)
[/code]
The operating system subvolumes are compressed using slow, high compression (zlib), while the root/home subvolumes use fast, lower compression (lzo). Fast/slow refers to write times – the read times for both are very high. Such compression can increase read performance, since less data needs to be read from the disk.
The boot subvolume is not compressed, since GRUB may have issues with compression. There is very little to be gained from compressing it anyway, since it is tiny and the large files are generally initial ramdisks, which are typically gzip-compressed anyway (note: some people use bzip2 or lzma/xz, but those people probably also complain about long boot times).
The key difference between this setup and typical ones is that:
- We have two filesystem roots (/) – one for each distribution
- The bootloader is on the BTRFS volume too
- We have a folder for snapshots
Installing Ubuntu
I was tempted to say that as per usual for dual-boot, you should install the inferior operating system first. Ubuntu seems to have improved a hell of a lot since I last used it though and I quite like Ubuntu now, so I leave that comment purely for the trolling value.
Creating the BTRFS filesystem, creating the subvolumes, then installing the operating systems may seem like all there is to it, but the Ubuntu installer has other ideas. It supports installing to BTRFS, but does not allow you to specify the subvolumes to install to.
After using GParted (in the Ubuntu live environment) to squash the Windows partition to the end of the disk, I ran the Ubuntu installer, created a new BTRFS partition (labelled “Linux”) in the free space and installed to it.
Once the installer is complete, mount the BTRFS filesystem:
[code]
mkdir /mnt/bt
# Replace Linux with the label you gave the filesystem, or
# use the common /dev/sdXY path or a UUID.
mount -L Linux /mnt/bt -o rw,subvol=/
cd /mnt/bt
# Unset the default subvolume
btrfs subvolume set-default . /
# Rename Ubuntu’s subvolume
mv @ ubuntu
# Create a subvolume for /boot
btrfs subvolume create boot
# Move the bootloader files to the boot subvolume
mv ubuntu/boot/* boot/
# Create the other subvolumes
btrfs subvolume create home
btrfs subvolume create root
[/code]
Configure fstab
[code]
LABEL=Linux / btrfs rw,compress=zlib,subvol=ubuntu,errors=remount-ro 0 0
LABEL=Linux /home btrfs rw,compress=lzo,subvol=home,errors=remount-ro 0 0
LABEL=Linux /root btrfs rw,compress=lzo,subvol=root,errors=remount-ro 0 0
LABEL=Linux /boot btrfs rw,compress=no,subvol=boot,errors=remount-ro 0 0
[/code]
Configure grub
When you generate /boot/grub/grub.cfg, grub-mkrelpath is used to generate paths to the initial ramdisks and kernels which GRUB is to invoke. grub-mkrelpath does not understand BTRFS subvolumes though, and will create incorrect paths if your boot subvolume is not at “/boot” within the BTRFS root subvolume – resulting in an unbootable installation. To fix this, hook grub-mkrelpath (or use /boot/ for boot, as I do).
[code]
cd /mnt/bt/ubuntu/usr/bin
# Rename the real grub-mkrelpath
mv grub-mkrelpath{,-real}
# Symlink grub-mkrelpath to our hook
ln -s grub-mkrelpath{-hook,}
# Create the hook (I use vim)
nano grub-mkrelpath-hook
[/code]
grub-mkrelpath-hook:
[code]
#!/bin/bash
if [[ $1 =~ boot ]]; then
echo "$1" | sed -e "s/boot/your-boot-path-goes-here/"
else
grub-mkrelpath-real "$@"
fi
[/code]
A more robust option would be to modify /etc/grub.d/10_linux instead.
You will also need to have grub tell the kernel which subvolume to mount as the filesystem root. This is achieved via the rootflags parameter. This could be set via /etc/default/grub, although I prefer to use a manually-typed grub.cfg, so I don’t use the above hook or the following GRUB_CMDLINE_LINUX. This works for me as I don’t need kernel updates for the Ubuntu system, so I use aptitude to hold the kernel packages at their current version. If I do update the kernel, I will also manually modify grub.cfg to use the newer kernel and initramfs.
[code]
GRUB_CMDLINE_LINUX="rootflags=subvol=ubuntu"
[/code]
Installing Arch
I won’t go through every detail of installing Arch since their is an entire Wiki on the subject, but key things to note:
- Do not install grub – Ubuntu is already managing the grub bootloader. Or alternatively, chroot into Ubuntu, uninstall grub, then install it again from Arch
- Remember to bootstrap a text editor, network connectivity tools, and btrfs-progs
Mounting the installation target:
[code]
mkdir /mnt/bt
mount -L Linux /mnt/bt -o rw,subvol=arch,compress=zlib
mount -L Linux /mnt/bt/boot -o rw,subvol=boot,compress=no
mount -L Linux /mnt/bt/root -o rw,subvol=root,compress=lzo
mount -L Linux /mnt/bt/home -o rw,subvol=home,compress=lzo
arch-chroot /mnt/bt
[/code]
fstab:
Much like the Ubuntu fstab, but for the filesystem root (/), change the “subvol” parameter’s value from ‘ubuntu’ to ‘arch’.
Snapshot
When both operating systems are installed and working, take read-only snapshots of them and of the bootloader:
[code]
cd /mnt/bt
mkdir snapshots
btrfs subvolume snapshot -r arch snapshots/arch-base
btrfs subvolume snapshot -r ubuntu snapshots/ubuntu-base
btrfs subvolume snapshot -r boot snapshots/boot-base
[/code]
You can browse these snapshots like any directory or subvolume. You can view files in them, copy a file out and into the working subvolume, or create a writable shapshot of them and replace your working subvolume with that (to roll back).
Accessing one installation from the other
In the extremely likely event that you break one installation, you can chroot into it from another. I will refer to each subvolume (e.g. arch, ubuntu) as red and blue, since these instructions work either way round.
[code]
mkdir /mnt/bt
mount -L Linux /mnt/bt -o rw,subvol=red
cd /mnt/bt
for F in proc sys run tmp dev dev/pts; do mount –bind /$F $F; done
chroot . /usr/bin/bash
mount -a
[/code]
If you want to access the internet from within the chroot (e.g. for aptitude / pacman), you may need to set DNS server(s):
[code]
echo 8.8.4.4 >> /etc/resolv.conf
[/code]
Generating grub.cfg
The smart thing to do would be to add a script in /etc/grub.d which looks for Arch and Ubuntu kernels in /boot, then finds the matching initramfs/initrd and generates the corresponding grub menu item.
I would post the script except I was lazy and haven’t written one yet. Instead, I hard-coded the grub entries to files in /boot/grub/custom/{arch,ubuntu} and added a script to /etc/grub.d/10_custom which simply writes the hard-coded menu entries to grub.cfg (i.e. “cat /boot/grub/custom/*”).
EDIT: I prefer a hand-written grub over an automatically-produced one now, as I don’t like having my boot loader depend on the dumb guesswork of a
bunch of scripts.
Here are examples of custom grub entries for use with BTRFS:
/boot/grub/custom/10_arch
[code]
menuentry ‘Arch’ {
recordfail
load_video
insmod gzio
insmod part_msdos
insmod btrfs
search –no-floppy –label Linux –set=root
linux /boot/vmlinuz-linux root=LABEL=Linux rw rootflags=subvol=arch quiet splash vt.handoff=1
initrd /boot/initramfs-linux.img
}
menuentry ‘Arch (fallback)’ {
recordfail
load_video
insmod gzio
insmod part_msdos
insmod btrfs
search –no-floppy –label Linux –set=root
linux /boot/vmlinuz-linux root=LABEL=Linux rw recovery nomodeset rootflags=subvol=arch
initrd /boot/initramfs-linux-fallback.img
}
[/code]
/boot/grub/custom/20_ubuntu
[code]
menuentry ‘Ubuntu’ {
recordfail
load_video
insmod gzio
insmod part_msdos
insmod btrfs
search –no-floppy –label Linux –set=root
linux /boot/vmlinuz-3.13.0-39-generic root=LABEL=Linux ro rootflags=subvol=ubuntu quiet splash vt.handoff=1
initrd /boot/initrd.img-3.13.0-39-generic
}
menuentry ‘Ubuntu (fallback)’ {
recordfail
load_video
insmod gzio
insmod part_msdos
insmod btrfs
search –no-floppy –label Linux –set=root
linux /boot/vmlinuz-3.13.0-39-generic root=LABEL=Linux ro recovery nomodeset rootflags=subvol=ubuntu
initrd /boot/initrd.img-3.13.0-39-generic
}
[/code]
If you use these, remember to set the kernel versions in the Ubuntu entries, and the kernel flavour (e.g. -lts, -arch, -pf) in the Arch entries.
Automatic daily snapshots
Backups are great when you remember to take them. I don’t remember to take them. Thankfully, systemd provides a really nice way to create services and scheduled tasks. For distributions that still use the old crontab+sysv crap, you can get the same functionality with that but it’s just more messy.
[code]
/etc/systemd/system/autosnap.service
———————————-
[Unit]
Description=Snapshot important BTRFS subvolumes
After=basic.target mnt-bt.mount
[Service]
Type=oneshot
ExecStart=/usr/bin/bash /mnt/bt/create-snapshot.sh "auto"
[/code]
[code]
/etc/systemd/system/autosnap.timer
———————————-
[Unit]
Description=Periodically snapshot important BTRFS subvolumes
[Timer]
OnCalendar=daily
Persistent=true
[Install]
WantedBy=timers.target
[/code]
[code]
/mnt/bt/create-snapshot.sh
————————–
#!/bin/bash
set -euo pipefail
declare -a subvols=(arch ubuntu boot home root)
declare fs_root="$(dirname "$0")"
declare target="snapshots/$(date -uIdate)$(if (( $# )); then printf — "-%s" "$@"; fi)"
cd "${fs_root}"
declare -i errors=0
for subvol in "${subvols[@]}"; do
if [ -d "${target}/${subvol}" ]; then
echo "Snapshot of ${subvol} at ${target}/ already exists"
errors=errors+1
elif ! btrfs subvolume snapshot -r "${subvol}" "${target}/"; then
echo "Failed to snapshot ${subvol} to ${target}/"
errors=errors+1
fi
done
exit ${errors}
[/code]
This causes read-only snapshots of the listed subvolumes (subvols array) to be created once per day in the (btrfs)/snapshots/yyyy-mm-dd-auto folder. You can manually trigger snapshotting too by calling:
[code]
/mnt/bt/create-snapshot.sh pre kernel upgrade
[/code]
which would snapshot the given subvolumes to (btrfs)/snapshots/yyyy-mm-dd-pre-kernel-upgrade.
Snapshot serialization
Taking snapshots is great for if you (or some software) screws up the operating system or deleted a bunch of files, but it won’t protect against a disk failure or theft. For the former, BTRFS supports RAID1/10/5/6 (and can do some cool per-subvolume stuff with it too). For the former and for the latter, BTRFS can serialize snapshots and produce “diffs” of them also.
Serialize a BTRFS subvolume
We make an initial backup of our system in January, by taking a snapshot, then sending the snapshot to our backup disk:
[code]
### Duplicate a BTRFS subvolume to another BTRFS disk (e.g. a USB disk)
# 1. Create read-only snapshot of subvolume to send
btrfs subvolume snapshot -r /mnt/bt/home /mnt/bt/snapshots/home-january
# 2. Serialize subvolume, pipe to deserialize it onto another BTRFS filesystem
btrfs send /mnt/bt/home | btrfs receive /mnt/usb/backups
[/code]
Now if we screw things up locally, we can plug the USB disk in and copy files from the January snapshot that is on it (or copy the entier snapshot over if we want to roll back).
Serialize changes to a BTRFS subvolume since a snapshot (incremental backup)
We make a differential backup of our system in February, by taking a snapshot relative to the January snapshot, then sending the incremental snapshot to our backup disk (which must have a copy of the previous snapshot already on it).
[code]
### Serialize a diff to another disk (e.g. USB disk)
# 1. Create read-only snapshot of current state
btrfs subvolume snapshot -r /mnt/bt/home /mnt/bt/snapshots/home-february
# 2. Serialize diff, deserialize it to other BTRFS filesystem
btrfs send -p /mnt/bt/snapshots/home-january /mnt/bt/snapshots/home-february | \
btrfs receive /mnt/usb/backups
[/code]
Now we can roll back to this snapshot, or to the January one. We can pull files from either snapshot too, so if we find that some problem occured before the Feburay backup was taken, we can resolve it via the January backup instead. Since the snapshots are incremental, disk usage is really efficient, even if we have many snapshots.
Send BTRFS snapshot via network/internet
If the network is reliable, or has some layer that handles network problems, this is trivial:
[code]
# Send a snapshot over the network
btrfs send /mnt/bt/snapshots/home-january | \
ssh user@my-server.tld ‘btrfs receive /mnt/backups’
# Send a differential snapshot over the network
btrfs send -p /mnt/snapshots/home-january /mnt/snapshots/home-february | \
ssh user@my-server.tld ‘btrfs receive /mnt/backups’
[/code]
—
TODO: Document de-duplication (cron job running “bedup dedup”)
TODO: Migrating to a RAID-0(sys)+RAID-1(data) setup, once I have two SSDs in this laptop instead of one 5400rpm HDD…