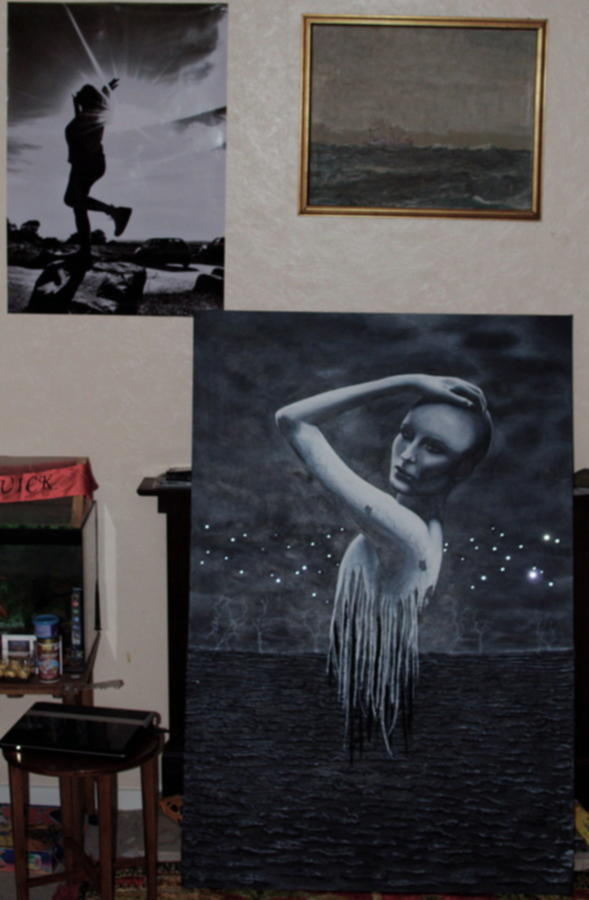
I think I just created the world’s most awesome USB gadget. Probably the biggest and most expensive too. When I say “created”, my part was the light source and the power supply… The rest (i.e. the actual Aura painting on the massive canvas) is the work of a very talented upcoming artist, save the painting in the gold frame which is a family creation and heirloom.
Oh, the smaller poster on the wall, that’s my creation…
Although I was lucky enough to see the artistic development of the piece from an idea in a sketchbook, through experiments with various media, software mockups, and ultimately: the final canvas, I shall leave commentary on the motivation/meaning/development of the Aura painting to the artist. I will describe the design and construction of my solution to the lighting and power problem which this artwork originally posed.
")
")
Rather than having lots of tacky little LEDs poking through the canvas, the artist chose to use fibre optic cable to provide the starlight. Behind the canvas, the fibres are bundled tightly together into a ~10mm cylindrical end. Originally, a pocket torch was fixed to the end of the fibre bundle in order to provide light, however the battery life was poor as was the brightness and colour temperature. Additionally, the brightness decayed noticabley as the battery drained. If the piece is to be exhibitioned for hours or displayed in a gallery for weeks, then the backlighting must provide a consistent, bright, “cool-blue” white beam requiring absolutely zero maintenance for days or weeks. Maintenance includes replacement of batteries and worn-out light bulbs – so an alternative lighting technology is required. This is the problem that I was approached with.
[ TODO: Nice illustration of colour temperature. Eventually. ]
My immediate thought was semiconductor solid-state lighting – a laser or some LED. Lasers, while fun and fairly predictable to work with, are typically not used for providing light that is both continuous and wide-band, so that left LEDs. Rather than use multiple LEDs and a reflector cone/cylinder to pass the light into the fibre, I used a single high-intensity white LED. Beyond a certain voltage level, the brightness would vary little with increasing voltage however the colour temperature could be finely controlled within this range. This meant that I could select a colour temperature, provided my power supply provided a consistent output for the LED. I should warn you that after looking directly at the high-intensity LED for half a second (while testing it with a 3.7V Nokia brickphone battery) my eyes took around half an hour to recover from the glare, after which I had a little short-lived fun strobing the LED at my brother – who responded with words that cannot be shown on this site…
My first thought for a power supply was to use a 7805 linear regulator plus a diode to reduce the voltage further, however this requires at least eight volts input to operate, and for a three-to-four volt output – it will waste at least half of the power, generating considerable heat (which would damage the artwork) and draining batteries too fast.
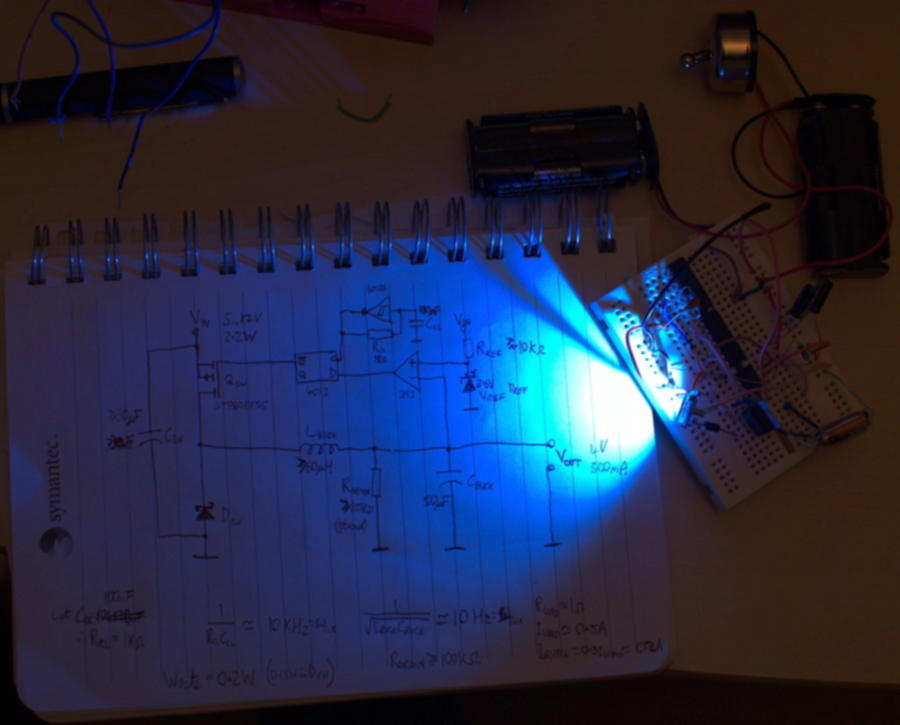
Having recently designed and built a variable speed, bidirectional motor controller using a PWM-driven H-bridge, I decided to use a switching power converter instead. Some quick research showed that ICs are available to do most of the work for me, but where’s the fun in that? I found a nice online lecture series titled “Introduction to Power Electronics“, provided by University of Colorado Boulder which explained the theory and mathematics of switching converters. After a few hours of solid lectures, I designed my own buck converter and posted the design to Stack Exchange to get critical feedback on it. I only need around 3.5V / 300mA maximum to drive the ultrabright LED however I designed the converter to supply 3.0-3.9V / 2A so that I would have headroom for any other electronics that might be added later. Given the inductor that I eventually chose, the current should not exceed 1.4A in the actual final build.

Had I waited a few more days before prototyping and building my design, I’d have used the following design which was produced using the later advice received on Electronics Stack Exchange:

Maybe replace the Schmitt-triggered inverter/R/C oscillator with a 555 too…
However I wanted to do this quickly as I had other projects pending at the time, so rather than waiting days for critical comments and recommendations to accumulate, I settled for a slightly simpler and less efficient design in response to the first few criticisms received on Stack Exchange. I stuck with the incredibly unstable Schmitt-triggered inverter for the clock generator, as the instability will result in a wide frequency range. The electromagnetic interference generated by this converter will be broadband as a result of this, so there will be considerably less interference at any particular frequency compared to a converter with a stable, narrowband clock generator.
I hate breadboards, but decided to prototype on one since this was my first switching power converter, and probably wouldn’t work. After a trip to my local components shop, and an hour of assembly, to my surprise the converter worked! I fiddled with it a little to see how it would respond to output shorting or to a higher impedance (1kΩ) load. For the former, the STP80PF55 transistor easily handled the strain (ID(max) = 80A), and the inductor didn’t heat noticeably despite only being rated for 1.4A continuous current. For the latter, the converter still provided a stable voltage with no noticeable heating of any components, although the converter’s efficiency dropped below 50%.
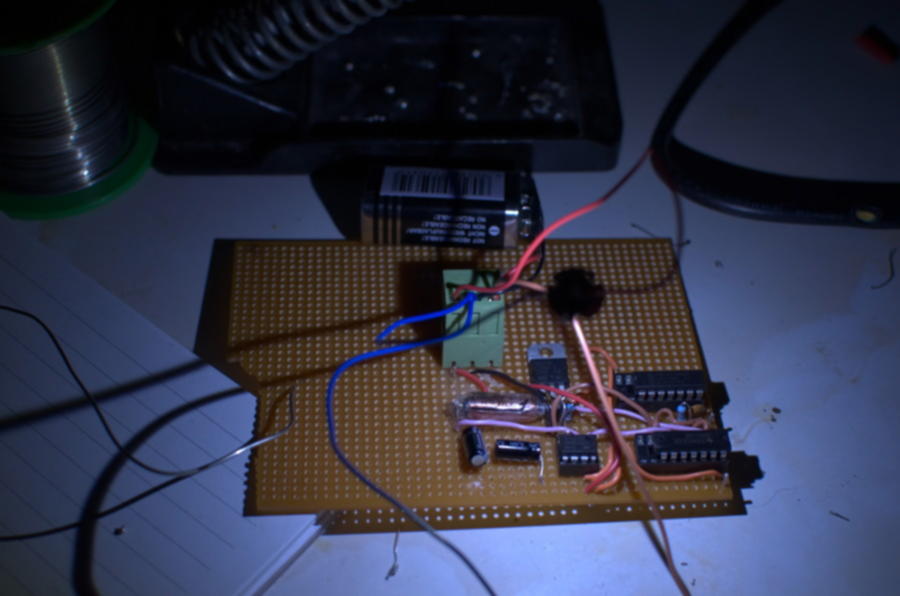
After this, I moved onto the “fun” part – figuring out how to translate this design to a circuit board. As I have yet to find any stable electronics design software that installs and runs on Linux, I did the layout and routing manually. Three revisions later, I put the components onto a matrix board and started soldering. I would have ideally used a purpose printed board, but that required: (a) a computerised design; and (b) waiting for the board to arrive in the post. My last tripad board was taken by a computer vision and robotics project, Smartie, so I was stuck with a matrix board that had no copper on it at all. Time for some retro old-school point-to-point soldering!
The only light in this image is from the LED itself
This, combined with my inefficient manual routing resulted in the power supply being the size of a credit card and a centimetre thick. Still though, it was small enough to fit behind the artwork. From the unit extends two power connectors which allow it to be driven either by a 5V USB smartphone charger or by a PP3 9V battery, the latter of which should provide over a day of consistent lighting while the former could provide eternal lighting if a mains socket was nearby.
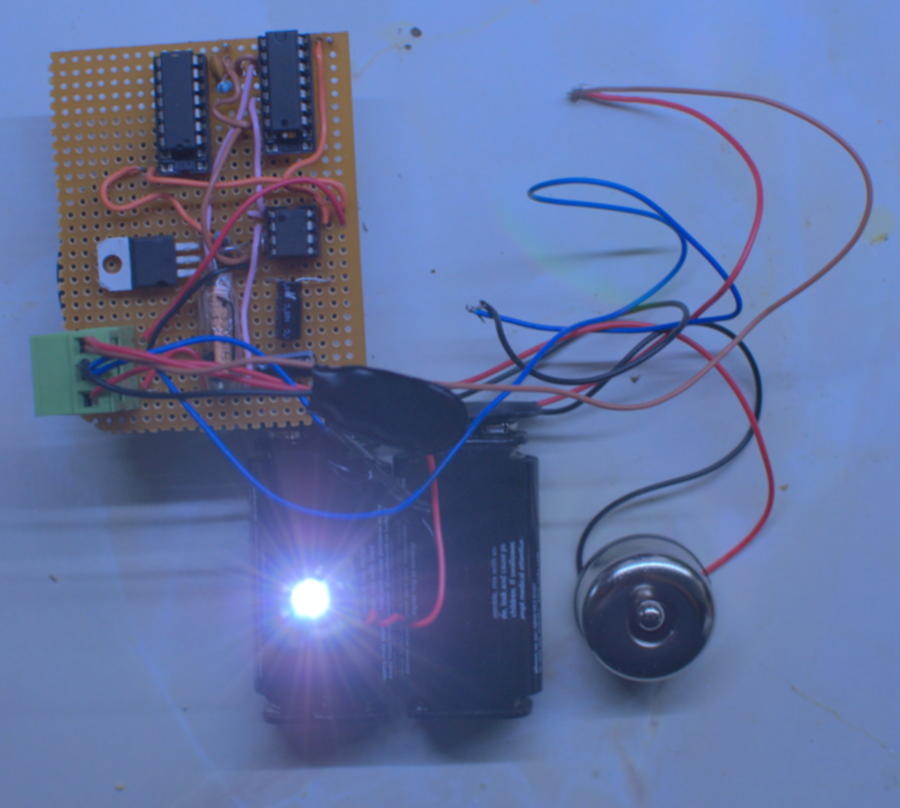
The unit connects to a daughterboard which the power LED is screwed into, allowing the power supply to be mounted a distance from the fibre optic bundle. I initially planned to use an epoxy resin cone coated in aluminium foil to funnel light directly from the LED into the fibre, without crossing an air interface at all – this would provide high efficiency usage of the light. During testing however, the brightness was more than sufficient despite a centimetre air gap between the LED and the fibre bundle.
Although the LED heats up considerably during prolonged use, it radiates almost no heat in comparison to a conventional light bulb – so does not heat its surroundings unless it comes into contact with them. Despite this, I plan to cut a small spacer, to ensure that the canvas never comes into contact with any hot components.
Here is the finished piece so to speak, “Aura” illuminated via a phone charger cable, powered by a laptop:
And for the humour value:
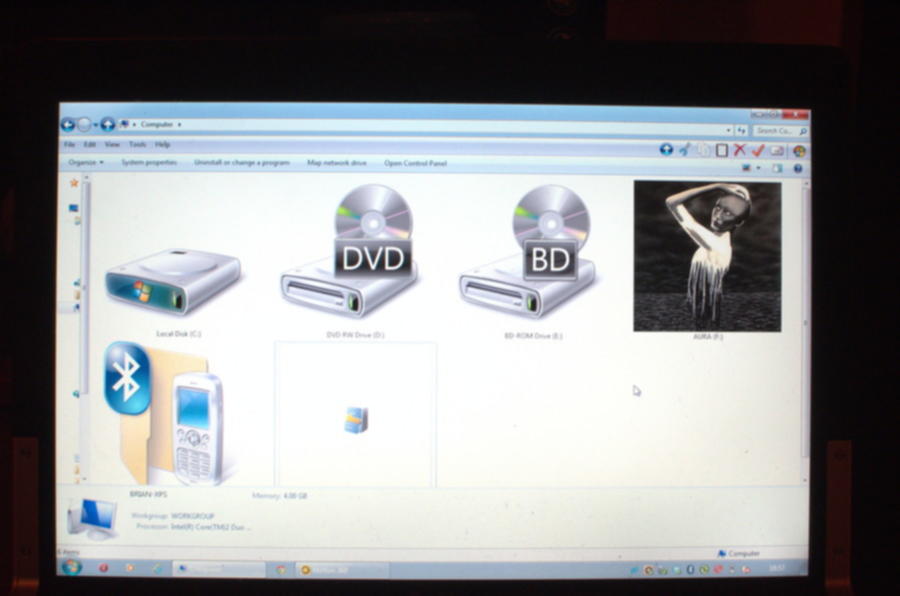
Windows displays a half-finished image of the painting as the device icon. As usual, Windows is out-of-date…
As a possible improvement, we considered making the lights flicker too, but they had to flicker independent of each other to avoid looking like some cheesy modern art crap. Various ideas appeared on the table:
- Attach a mobile phone vibrator to the LED daughterboard, so that the LED wobbles above the fibre bundle. Creates noise and wastes power though.
- Two LEDs on the fibre bundle, alternately driven by a multivibrator with lowpass filters on the outputs. Will still look like some tacky modern art crap.
- Vibrate a piece of string over the end of the fibre bundle. Cheap, low power, but likely to jam or otherwise not work properly.
- Use a clock mechanism to efficiently spin a dotted/stripey filter over the fibre bundle to create a seemingly random flickering of individual fibres – Jackpot!